I am learning to read and write patterns as I go, so I’m starting small on this new venture. I hope that my dumbing down and explaining things to learn myself will help some of you guys out as well. I have looked at a few patterns for things that just blew my mind, and they actually deterred me for some time from learning more about crochet patterns. I would have started sooner with this had I not been turned off by the entire thing with my lack of knowledge.
Start small and build from there, I say.
I do a little more explaining than a lot of written patterns I have seen do, but I appreciate explanations when trying to learn something, and I hope you do too.
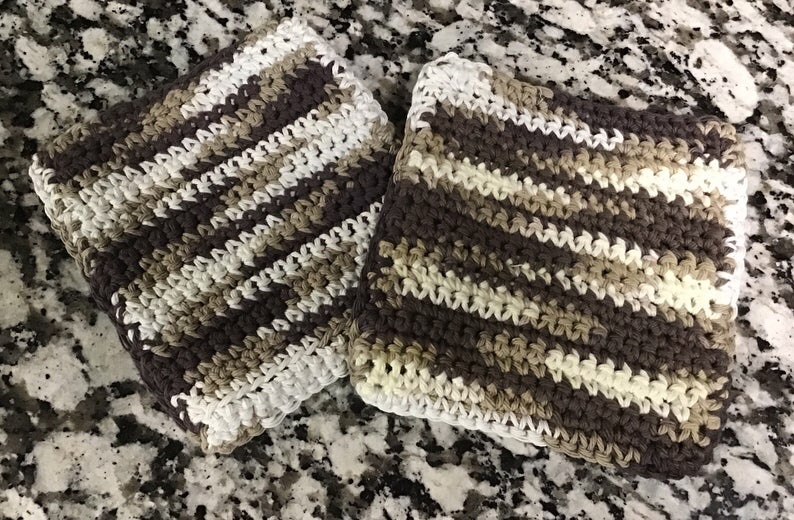
This pattern can also be used to make rags, which is what you end up with before crocheting the two pieces together to make the potholder. You can adjust the width by adding or removing chains at the start or make it longer by adding rows. You can also follow the pattern, remove chains and rows, and make a small pot scrubber. Just make sure you are using 100% Cotton yarn for these things.
Cotton is more durable. Acrylic will stretch and not return to its original form, and I personally don’t like the way it feels wet. Cotton will stretch when wet but return to its form better than other materials. You can use blends, but I prefer 100% Cotton.
You can find yarn specific for making washcloths, which would work for this, but most of the time, products cost more when tailored to specific purposes. I use Peaches & Creme 100% Cotton yarn from Walmart. A 2 oz. skein where I live in East Texas, is under $2. A large cone is a little over $8, which is very affordable. If you can find it locally, you will more than likely save money. Amazon had the same cones of yarn for almost $11, so check your local shops before resorting to the internet. You will be surprised by what you may find.
Also, Thrift stores are AMAZING. My local thrift store, whose proceeds go to my local library, almost always has a decent selection of yarn, although mostly acrylic, for around 50 cents to $1 for entire skeins. You will pay more than double that for the same thing at the big box stores. Unfortunately, with all the hoopla of “the Rona”, some Thrift stores may be closed. It is worth a shot to look into, though.
Abbreviations used:
- Beg-beginning
- Ch-chain
- Sc-single crochet
- Rep-repeat
- Sk-skip
- Sl st-slip stitch
- St-stitch
First row:
Slipknot with 2-3 inch yarn tail, ch19.
2nd Row:
Sk 1 ch(#19), sc1 into ch#18 to #1 back to beg, ch1, turn work.
3rd Row:
*Sc into 1st st at the base of ch1, +17sc to end, ch1, turn work.
—Each row will have 18sc and a ch1 at each end.
4th–21st Row:
Rep from * 18x.
22nd Row:
Sc into 1st st at the base of ch 1, +17sc to end. (Stop point should be in the corner diagonal from the start point.)
Finishing Off:
Cut yarn 2-3” away from the hook, pull tail through last sc. *Weave forward and back through a few stitches back to the corner.
Rep from *at beg. Yarn tails should be coming out of the same side of the work when done.
—Repeat all of the previous steps to make a 2nd square. Ensure the stitch count is right, or they will not line up when you crochet them together.
—Put finished squares back to back, with yarn tails between them, one tail at each corner. You will crochet the squares together, with the yarn tails inside where they cannot be seen.
To crochet squares together:
With squares together, pick a corner to start on. I find it easier to start on the right corner of a row and not a side.
Put hook through 1st st of each square, pull yarn through to make a loop with a 2-3” tail.
*Sc18 to the other corner, catching both squares with your hook. (Loop first made to attach squares is the first half of your first sc, so grab the yarn and pull through to complete the first sc.) At the corner, rotate work and sc into the end of each row, catching both squares on your hook. You will end up with 22sc on the side.
Rep from * back around to the starting point, but do not sc through the starting st.
—Hanger loop is optional and can be added with a ch6 or more depending on the loop size you want. You can add a loop anywhere you would like by making the ch# and then continuing with your sc, or if adding at the end, just continue to the next step.
—Sl st into starting st. Cut yarn 2-3” or so from the hook, and pull the tail rest of the way through the sl st.
*Weave forward and back to secure, and tuck tail inside of pouch created by the squares.
Rep from * to secure other tail.
Drop a comment and let me know what you think of this pattern!
Many blessings,
Emma Lee


Leave a comment